Note: This configuration is for Dovecot Email Server that supports IMAP/POP.
Step 1: Downloading and Installing Thunderbird
Go to https://www.thunderbird.net/ and click "Download". Once it is finished downloading, you can open the installer and proceed with the installation accordingly.
Step 2: Setting up an email account
Open the Thunderbird client, and click Setup an Email account. You should be able to see the screenshot below (The screenshot could be different on a different version of Thunderbird).
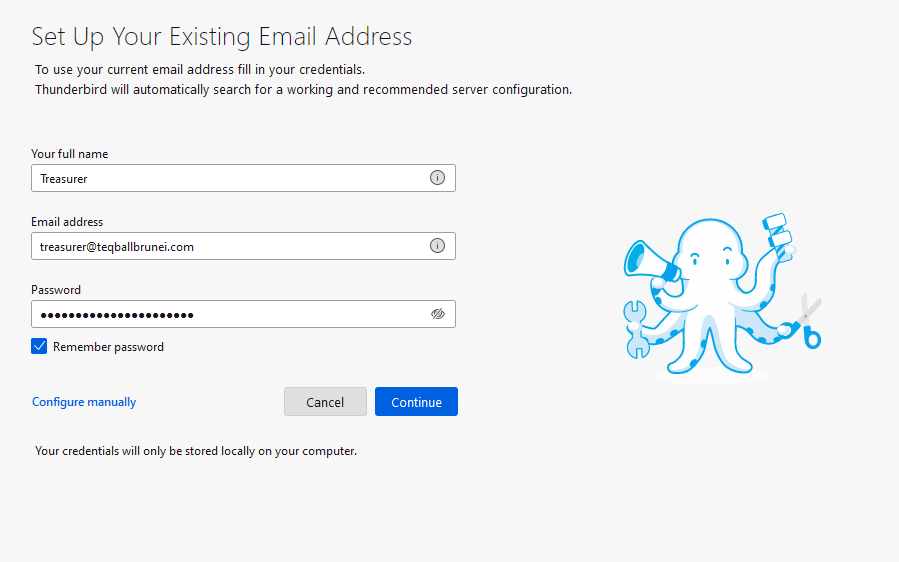
Fill in your email credentials that have been created. Once it is filled, you can click "Continue".
If the email address and password are correct, you should see the screenshot below.
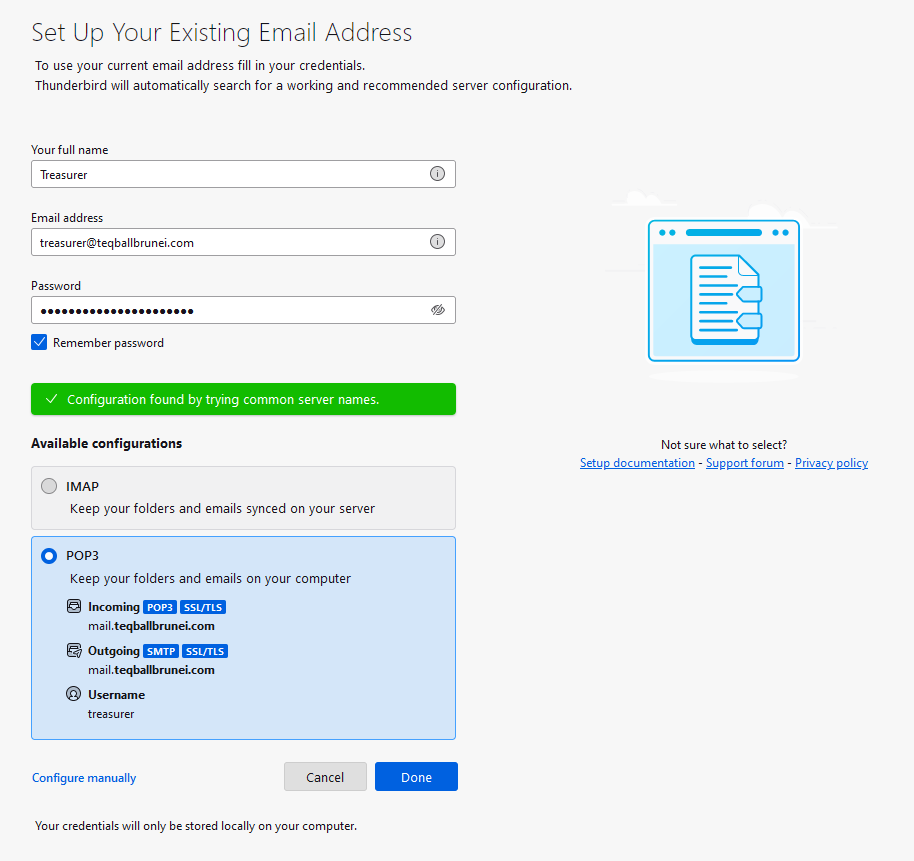
Select POP3 as your email type and then click "Done".
If everything is set correctly, you should see the screenshot below.

IMPORTANT
By default, the server settings should have "Leave message on server" and "For at most" checked with the value, 14 days.
You can check this by following the steps below.
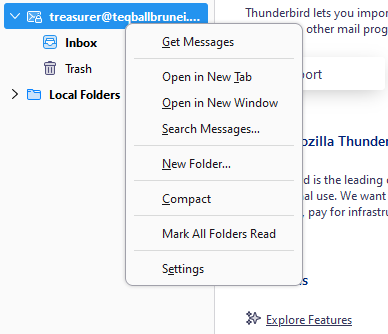
Step 1.1: Navigating Account Settings
Right-click on your newly created email account from the left sidebar and then click on "Settings".
Once you are in the Account Settings, navigate to your email account and click on "Server Settings".

Make sure the highlight box in red is set accordingly.
You are done! If you are still facing any error, please contact our support using our live chat on https://mint.com.bn or you can open a new ticket in this portal.